


 Ask Sencha AI
How To Create Beautiful Web Apps With Sencha Ext JS And UI Components
January 4, 2023
5558 Views
Get a summary of this article:
Building a web application from scratch can be a challenging and time-consuming process. For instance, creating an enterprise-grade app involves writing complex code for several different types of components. Components are essentially building blocks for creating an interactive user interface. Fortunately, today, developers can use a JavaScript framework or JavaScript UI component library to accelerate the web development process. A JavaScript library comes with pre-written and reusable JavaScript code for several common features and UI components, such as buttons, text fields, progress bars, date pickers, time pickers, dropdown lists, and more, required for creating a web app. As a result, developers don’t have to write certain repetitive code again and again.
In this tutorial, we’ll show you how to quickly create a functional app with Sencha Ext JS, one of the leading UI component libraries.
With Sencha Ext JS, a robust JavaScript UI component library, you can quickly add interactive components and accelerate your web app development.
Sencha Ext JS simplifies API integration in rapid web app development by providing pre-built UI components and tools for faster, enterprise-grade app creation.
What Is Sencha Ext JS?
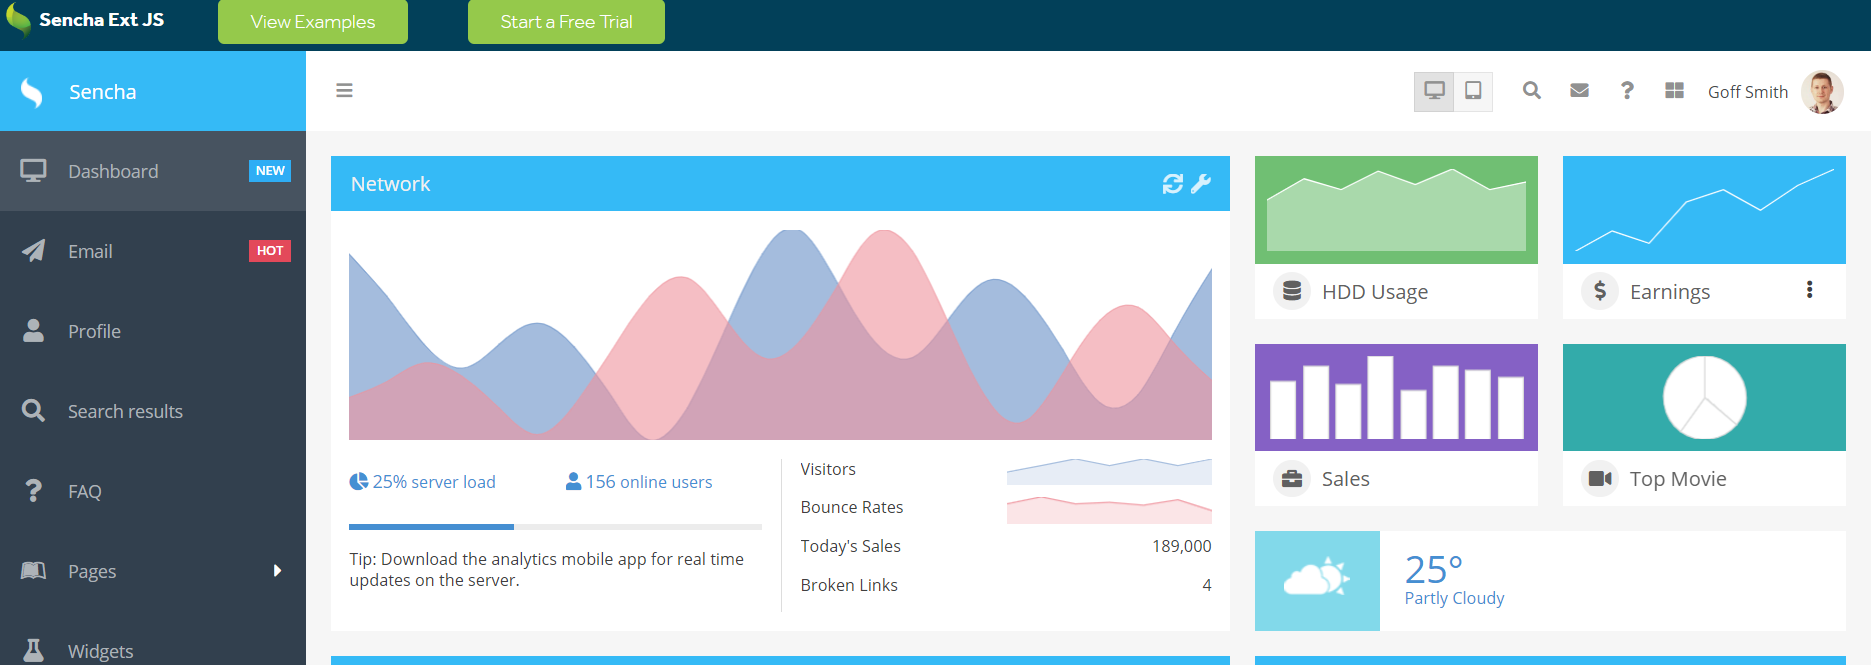
Sencha Ext JS is a comprehensive JavaScript framework for creating high-performance, enterprise-grade web and mobile apps for any modern device. It comes with over 140 common UI elements or UI components, such as a pivot grid, list box, dropdown list, progress bar, HTML5 calendar, grids, buttons, icons, navigational components, and much more, which helps accelerate web application development. Additionally, users can utilize extensions from the Sencha community.
Ext JS UI library also includes an efficient layout manager that you can use to manage and control the display of components and data across multiple devices, browsers, and screen sizes. Additionally, with the responsive config system, app components can efficiently adapt to a particular device orientation, such as landscape or portrait. With the Ext JS ARIA package, you can also add accessibility support to your apps as it provides all the right tools you need for Section 508 Compliance.
Sencha Ext JS also has several supporting tools, such as Sencha Architect, Sencha Stencils, Sencha Cmd, Sencha Themer, Sencha Test, and more.
How To Create A Web App Using Sencha Ext JS and UI Components?
Here are the simple steps for creating an Ext JS app quickly:
Step 1: Installing Packages From npm
Ext JS offers 30-day trial packages that you can install from public npm. You can install the latest version of Ext JS using the command below:
$ npm install -g @sencha/ext-gen
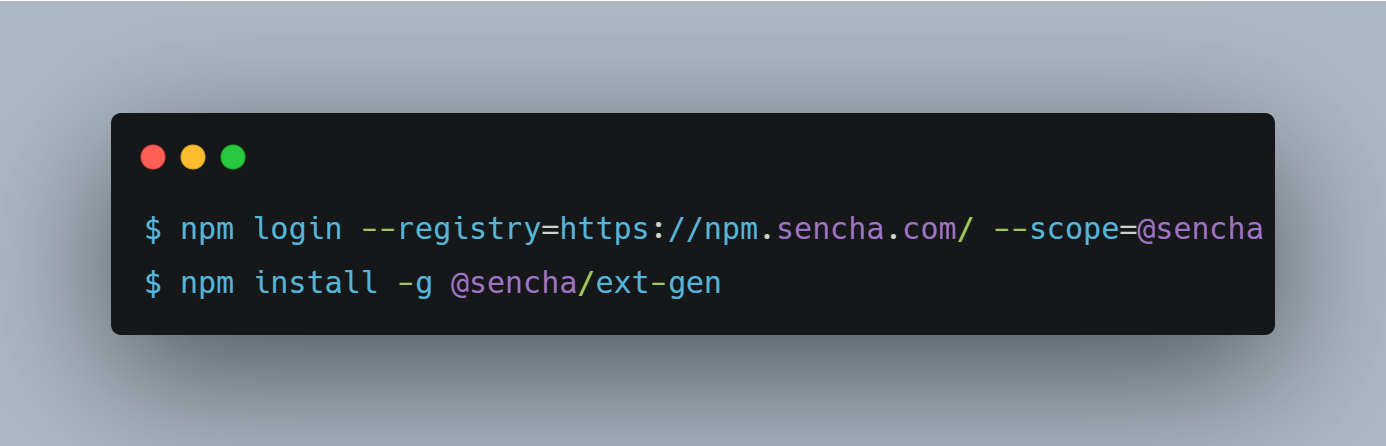
For active users, Ext JS and all related packages are hosted on the private npm registry of Sencha. You can log in to the registry and install npm using the commands below:
You can also find the code here.
These commands will configure npm to download and install packages in the @sencha scope from Sencha’s registry.
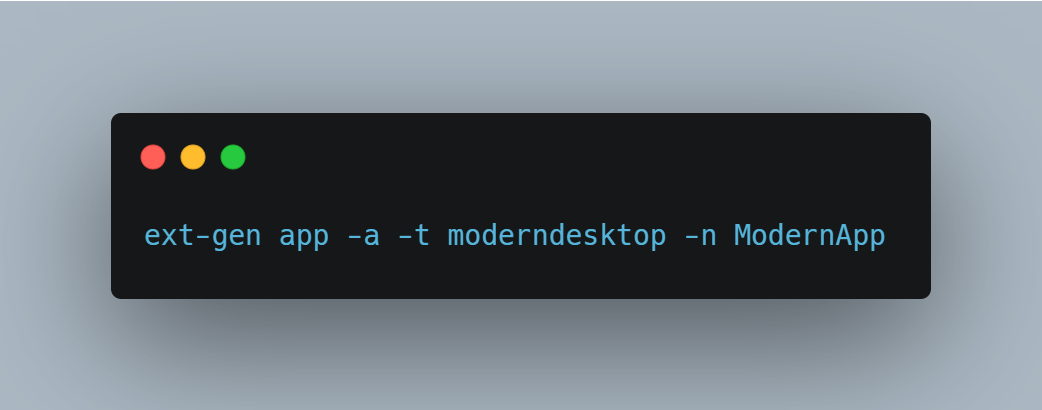
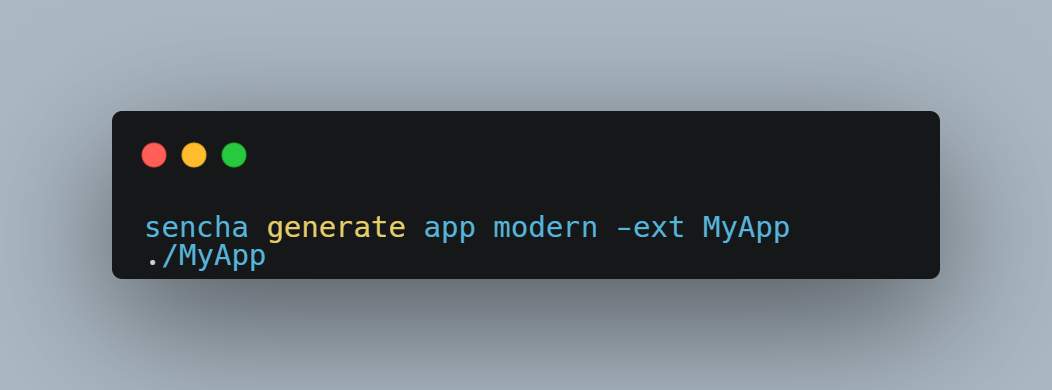
Step 2: Generating The Application
In this step, we’ll generate a simple two-view app consisting of a home page and a grid using the following code:
You can also find the code here.
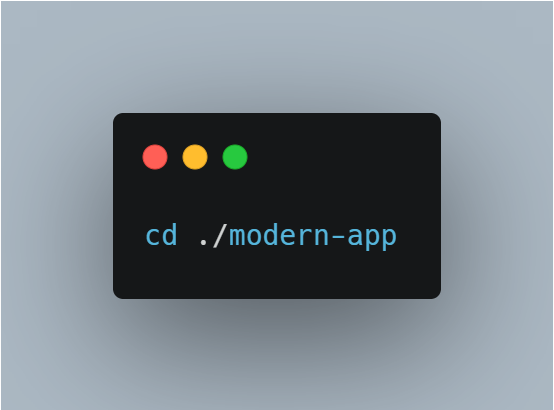
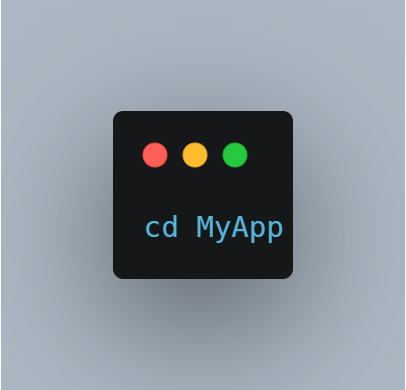
Step 3: Exploring The App
Now that our project is generated, we’ll change to that directory:
You can also find the code here.
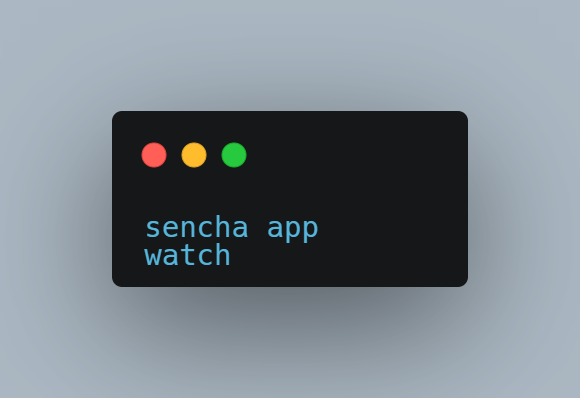
To explore your app, run the following npm command:
You can also find the code here.
Doing this will open your web browser with the app entry point.
Step 4: Adding More UI Components To Your App
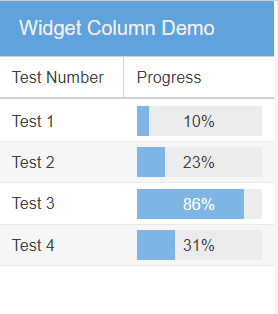
In this step, we’ll show you how to embed components in grid cells or an expansion row. We’ll use the Widget Column for this purpose as it makes it super easy to embed any Component into a Grid cell. To add a Widget Column, you simply need to assign your column an ‘xtype’ of “widgetcolumn” and then specify its widget config. The widget config is essentially an object consisting of the ‘xtype’ to create for each cell.
Here, we’ll use the Widget Column to add a Progress bar widget to a Grid. Here is the JS code:

You can also find the code here.
The code above will generate the following Grid:
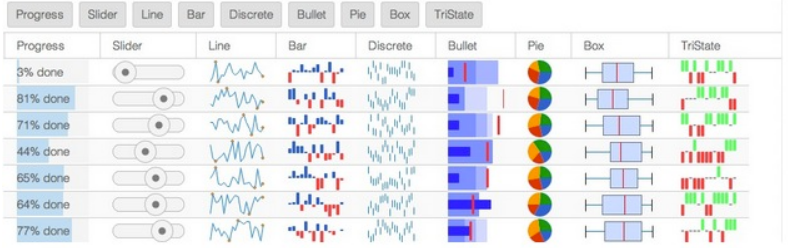
Similarly, we can add Sparkline widgets to a Grid using the Widget Column and create useful data visualizations, as you can see in the image below:
Similarly, you can add many other UI components to your app. For example, you can add Carousels that enable users to swipe through several full-screen pages. However, it only shows one page at a time. We can even add any other component to a Carousel.
Here is the JS code for adding a simple horizontal Carousel to your app:
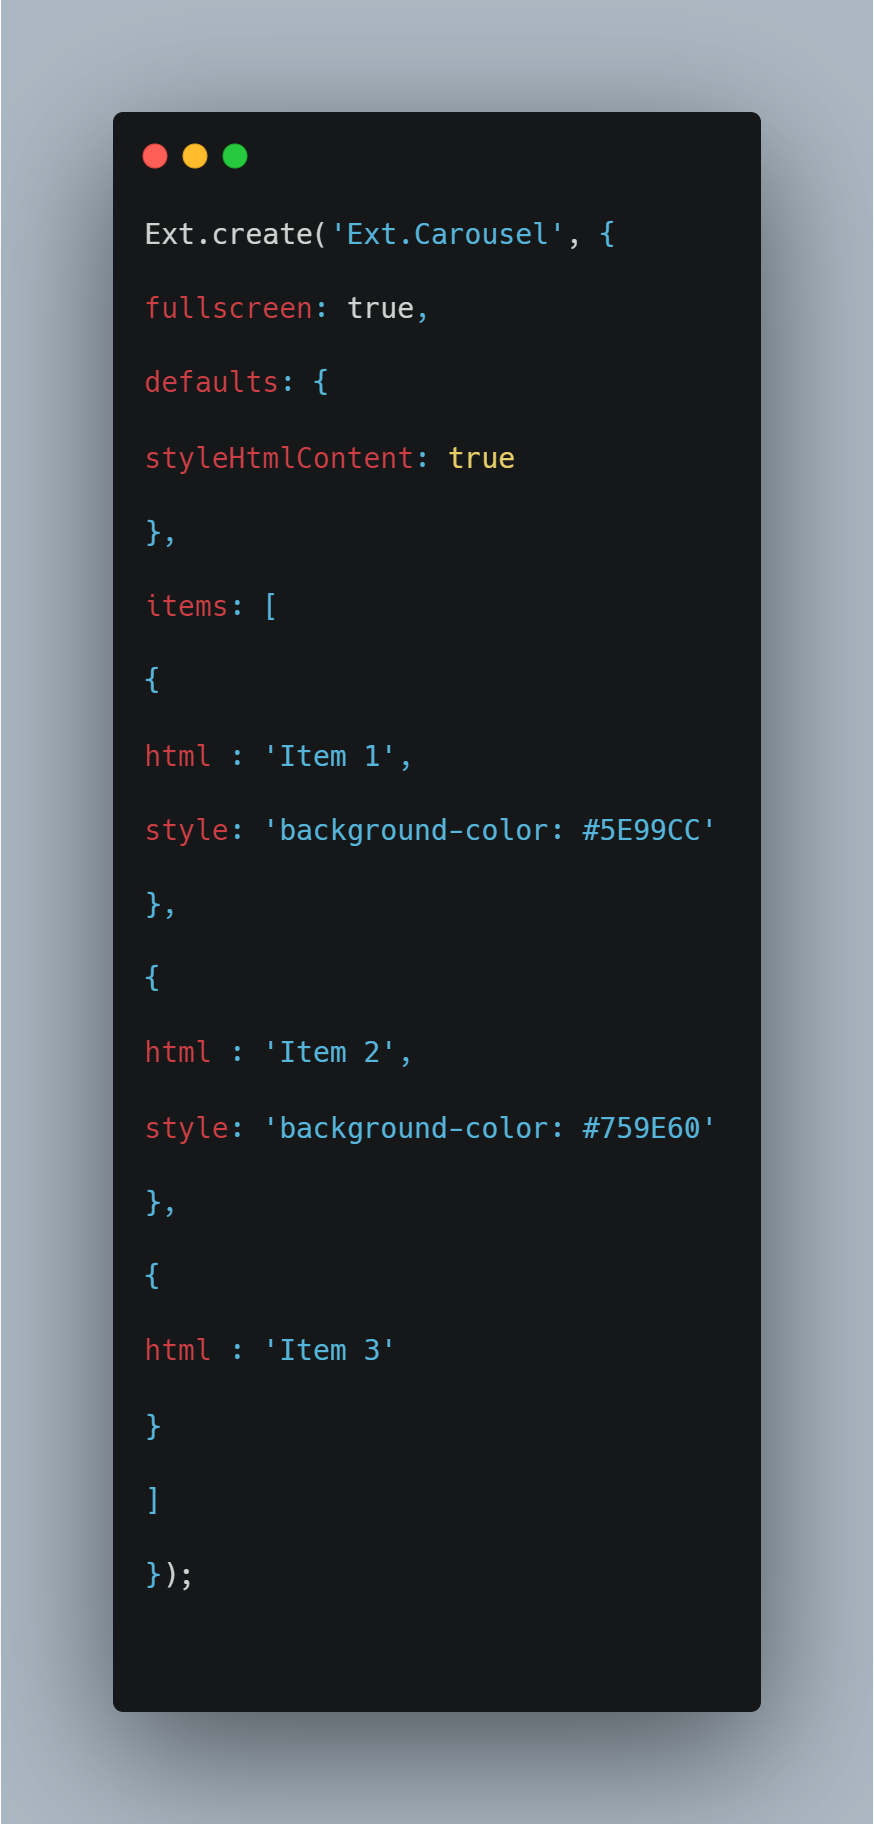
You can also find the code here.
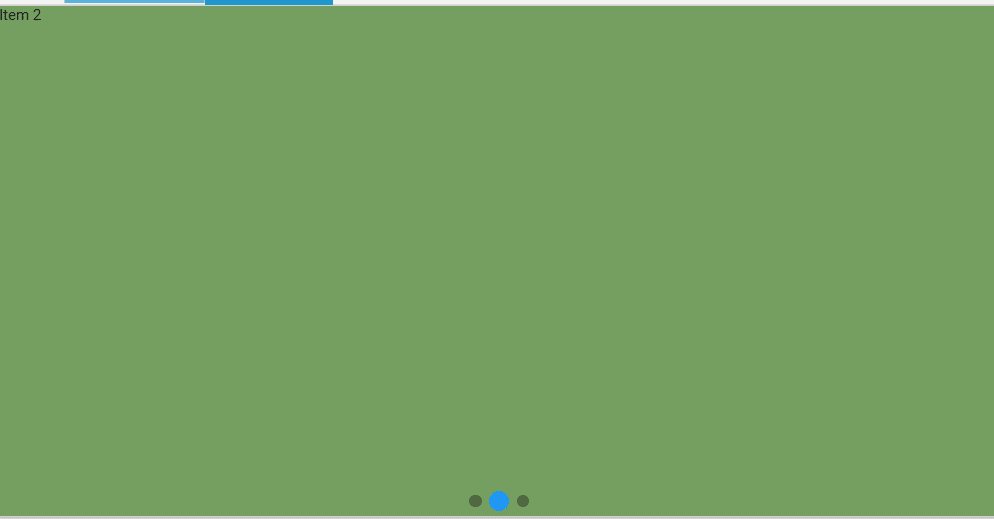
The code above will create the following Carousel:
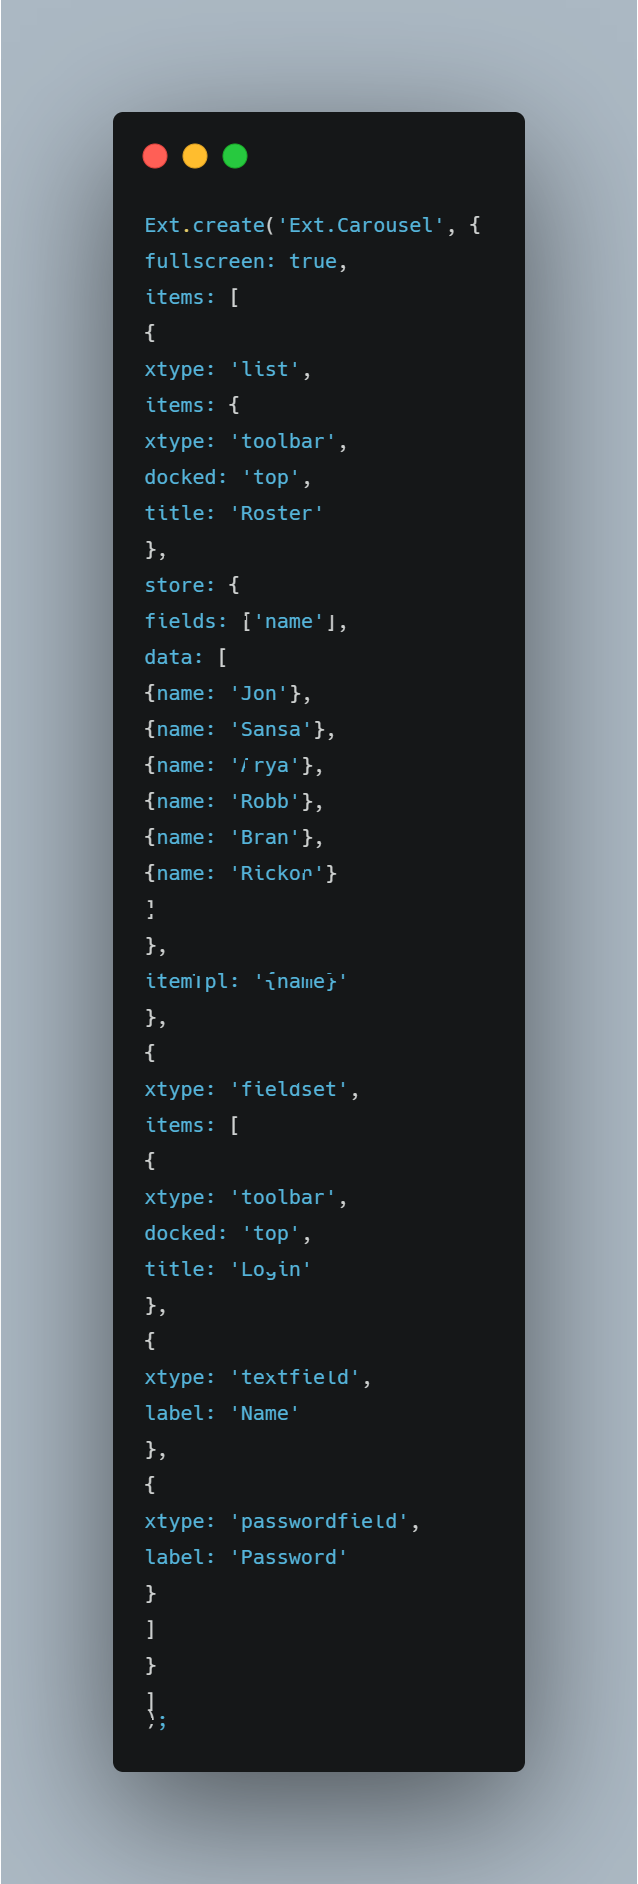
Here is an example code for placing a list or form into a Carousel:
You can also find the code here.
How To Create A Sencha Ext JS App Using Sencha cmd?
‘Sencha Cmd’ is essentially a command line tool for creating Ext JS apps. It offers a comprehensive set of lifecycle management features, including code minification, scaffolding, production build generation, and more, for your Sencha projects. Sencha Cmd automates several tasks involved in creating a Sencha Ext JS app. It also provides a comprehensive set of command line syntax and Ant integration.
Here are the steps for creating an Ext JS app using Sencha cmd:
Step 1: Unpacking The Zip File
Once you’ve downloaded the Ext JS trial zip file, unzip or extract the file and open the folder.
Step 2: Installing Sencha Cmd
Here is how you can install Sencha cmd:
Windows: Right-click on the .exe file (unzipped in the previous step) and open it.
MacOS: Right-click and open the .app file extracted in the previous step.
Linux: Right-click and open the .sh file.
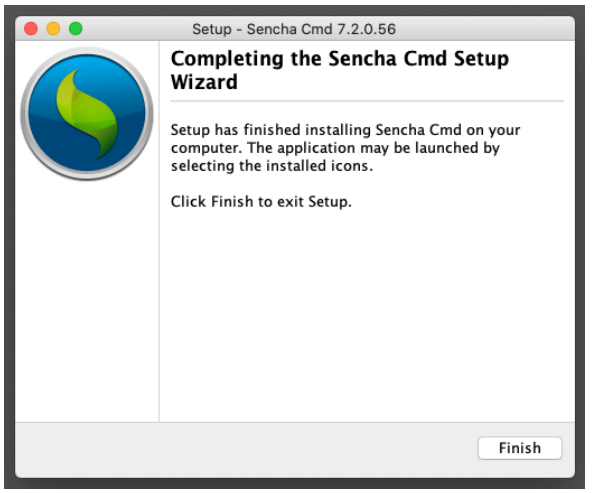
You can then proceed with the installation by clicking ‘next’ until the cmd is installed. Once the Sencha cmd is installed, you’ll see the following screen:
Step 3: Getting Started With Your Ext JS App
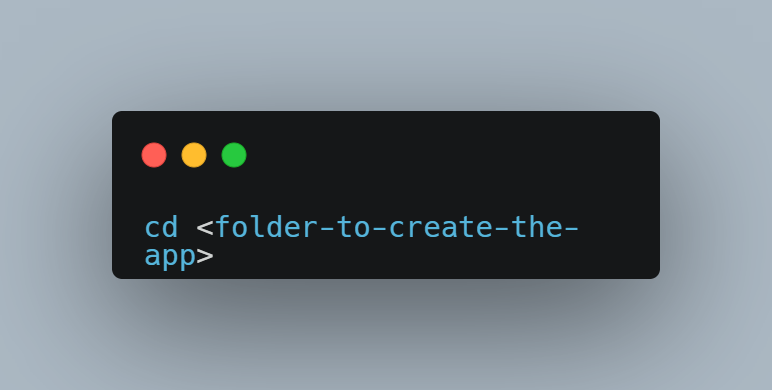
Start your command window. Next, change the directory to the folder where you wish to create the app:
You can also find the code here.
Now, generate the app using the following command:
You can also find the code here.
Next, navigate to the new app folder using the following command:
You can also find the code here.
Finally, run the application:
You can also find the code here.
Sencha Command will now create your app, and once it’s completed, the command window will show the following message:
Waiting for changes...Now you can run your app in a browser using http://localhost:1841/
That’s it, you’ve created a new Sencha Ext JS application.
Step 4: Adding UI Components To Your App
You can follow the step 4 of the previous section to learn how to add more UI components and make your app more user-friendly. For example, you can add carousels, grids, etc., to your app.
Can You Add Charts In Your Ext JS App?
Sencha offers a Chart package that provides data visualization functionality. However, Sencha Charts aren’t included in the Ext JS library by default. You can include the charts package by simply adding “charts” to the requires block in the {appRoot}/app.json file of your app (Sencha Cmd generated app.) Adding a package name to the requires array instructs Cmd to make the package available to your app.
Here is the code for creating a simple bar chart:
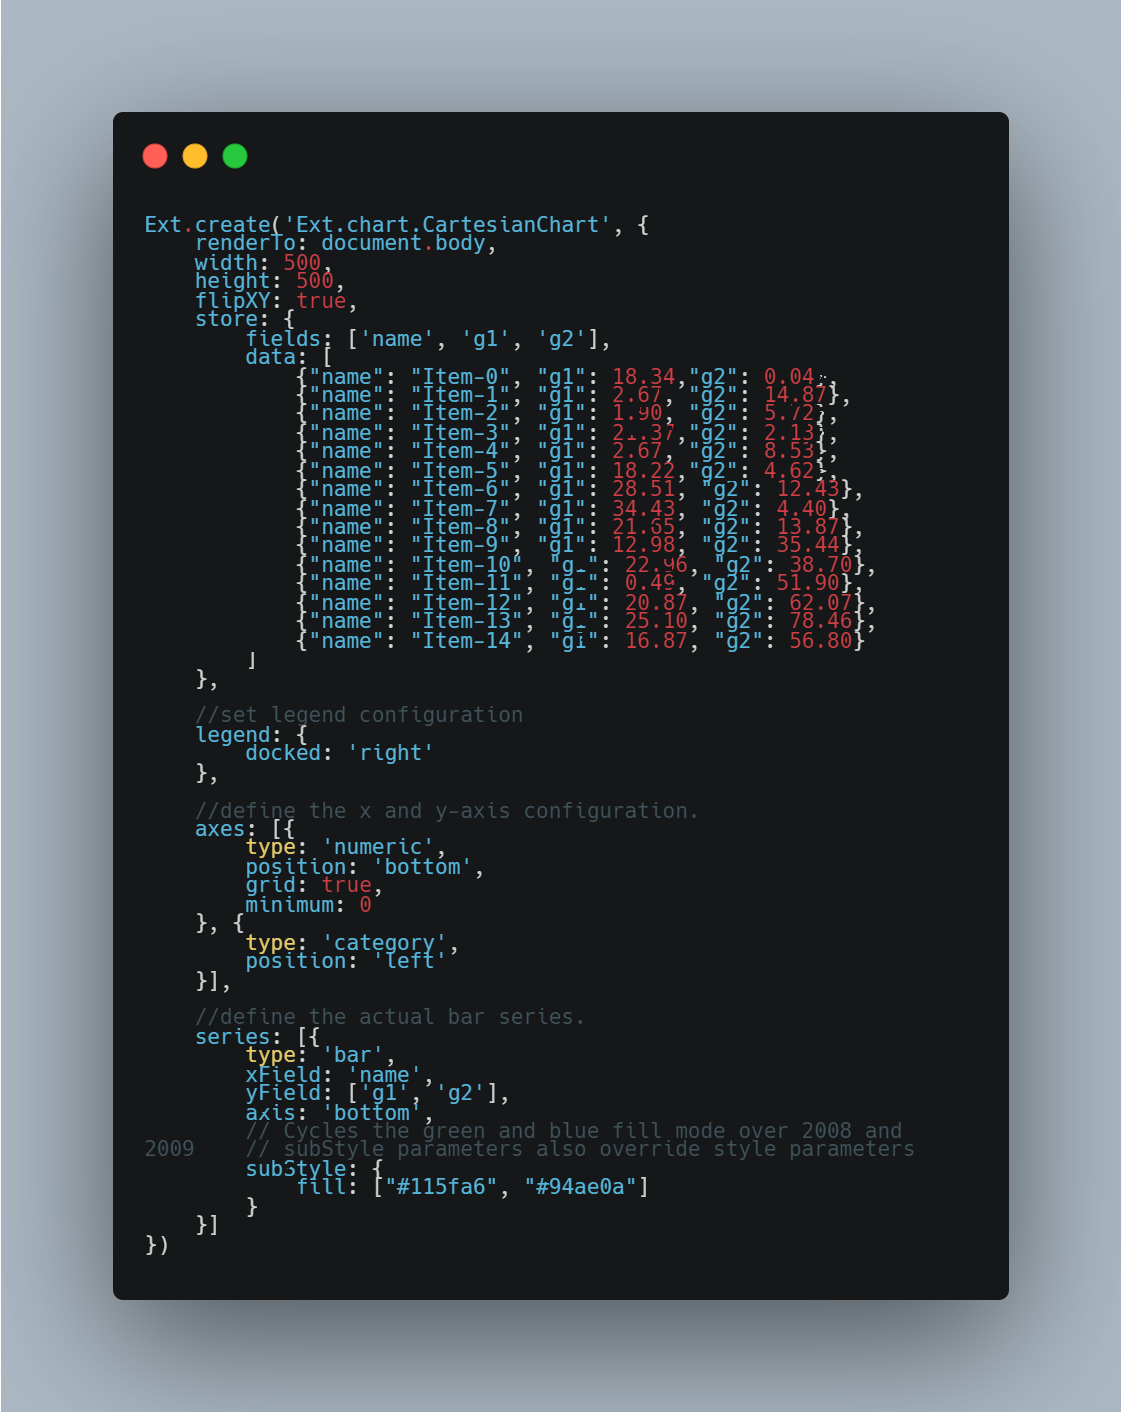
You can also find the code here.
Conclusion
A good and attractive user interface is one of the key requirements of modern web apps and websites. That’s why web designers today focus on adding UI elements and images to websites. A JavaScript UI component library comes with several pre-built UI components, such as message boxes, input field/input fields, search fields, buttons, date picker, and more, allowing a UI designer/web designer/ developer to create consistently formatted user interfaces and improve web design. In this tutorial, we’ve created a simple app using Ext JS, one of the leading JavaScript libraries.
Start using Sencha Ext JS today and build functional apps quickly!

 2
2
Latest Content

JS Days Is Back: A Free Virtual Conference for JavaScript Developers
Sencha is bringing back JS Days, a free, two-day online conference for JavaScript developers. Dates:…
July 2, 2026

What Is DORA? A Complete Guide to the EU's Digital Operational Resilience Act (2026)
Last Updated: June 2026 The Digital Operational Resilience Act (DORA) is one of the most…
June 17, 2026

Top 8 Best Practices for Enterprise Software Development in 2026
Enterprise software development in 2026 demands a different approach than consumer application development. Enterprise teams…
June 3, 2026


